


Have you ever wondered how construction projects are documented? Documenting a construction project is more complex than taking photos and videos periodically. To truly capture the project’s progress, you must invest in a time-lapse video. But if you can capture all that hard work in a short time-lapse video, you can showcase it engagingly.
Here are some tips to shoot the perfect construction time-lapse video, so your project looks its best.
Plan Ahead
Shooting a time-lapse construction video requires careful planning and execution. To get started, consider the location of the shoot – check if there will be any physical barriers or unique challenges at that spot and make sure the camera angle best captures the desired frame.
Once you have settled on your shooting location, ensure you have access to ample power, such as an uninterrupted source of electricity or portable generators. Additionally, it’s critical to calculate your cameras’ storage capacity and battery life before filming begins.
It will help determine how regularly you can capture and back up images. Lastly, take advantage of natural light cycles to capture the best footage. With enough preparation and smart tools available in today’s market, shooting a great time-lapse video of construction progress is within reach.
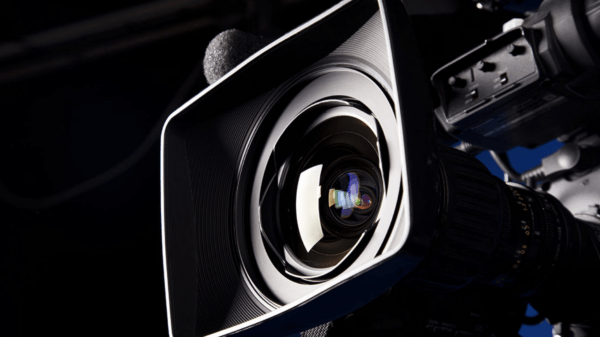
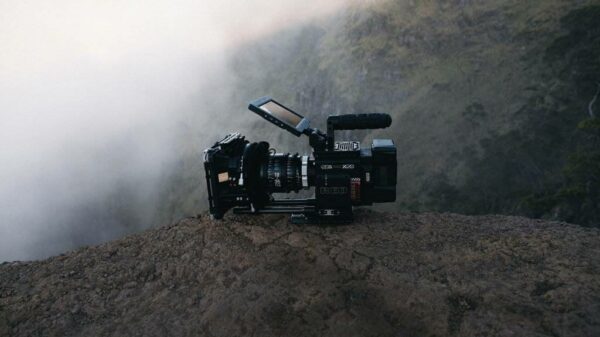
Invest in The Right Equipment
Before you start creating your video, you must ensure you have all the necessary equipment. First, you will need one or more cameras that can be mounted on a tripod or a wall mount. You should also opt for cameras with wide angles so that they can capture more details in each frame.
Additionally, ensure a long-lasting battery for each camera and extra memory cards so you won’t run out of storage space during the shoot.
Depending on your needs, invest in an intervalometer for remote control of the camera shutter speed.
Decide the Type of Shots
When shooting a time-lapse construction video, the video’s success hinges on thoroughly thought-out shot composition. By deciding ahead of time which shots to include, you can guarantee that your construction video grabs viewers’ attention and captures all the hard work that went into it.
Consider selecting establishing shots from different vantage points that drive home each stage of construction, as well as mid-range wide shots and closeups for texture, detail, and creative impact.
Additionally, you should incorporate unique angles and exciting perspectives to enhance the visual experience. If you plan correctly and capture dynamic images, your time-lapse construction video will be sure to impress.
Choose Your Location Wisely
Once you have all the necessary hardware, it’s time to pick where you will set up your cameras. Ideally, choose a spot with plenty of natural light where other buildings or trees don’t obstruct the view.
Also, consider the angle at which your camera(s) will be facing; if possible, try to find an elevated location that allows for an aerial view of the entire site and capture any changes from all angles.
If there isn’t such an option available, ensure that your cameras are pointed toward areas where most of the work is being done, as these changes are often more apparent when looking at them from certain angles than others.
Set Up Your Equipment
Setting up your tripod, camera, and intervalometer is key to capturing a compelling time-lapse video. The first step is to ensure your tripod is on level and stable ground before attaching the camera with its lens already mounted.
After picking the right location, finding the perfect angle best captures your desired scene is essential. Now that you have camera placement and angle squared away, set up your intervalometer by setting the frame delay depending on what type of pace you are looking for throughout your video.
Once all components are in place, you’re just one “record” button press away from creating high-quality time-lapses.
Shoot Regularly
Once everything is set up and ready to go, it’s time to start shooting. Set up a regular schedule for shooting (maybe once every few hours or days) so you can capture any changes over time in the final timeline video.
Try setting up multiple cameras from different angles to pick up even small changes in the final product. Also, remember to keep track of weather events like rain or snowfall, as this may affect how quickly your project progresses. Recording these events can add another layer of interest and realism when viewing your final footage.
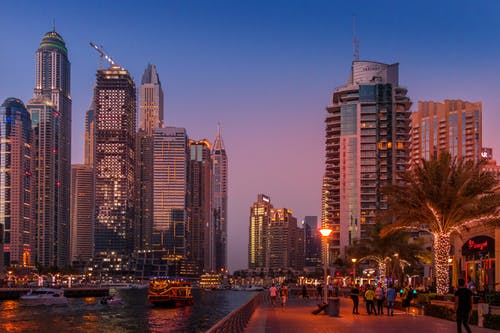
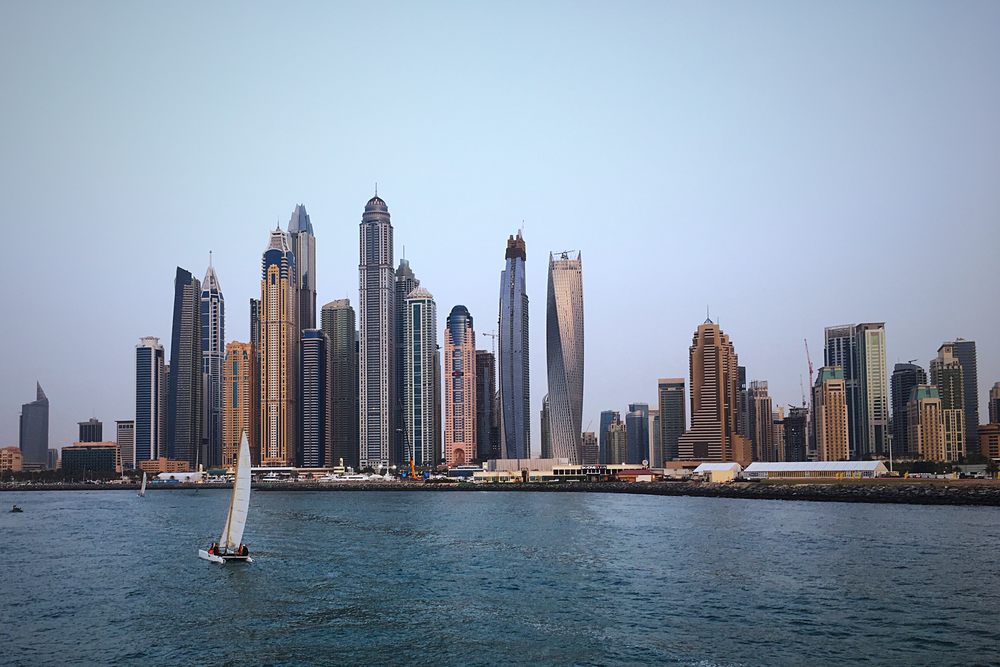
Empowering brands for 4 decades with engaging content that works around the clock. We are one of the top audio and video production companies in Dubai, UAE.