


The ways by which the world is perceived vary from one individual to another, with each eye taking in images uniquely that never gets replicated the same way again.
If you are feeling curious creatively, there is no other option to explore the new realm than with unseen elements defining infrared.
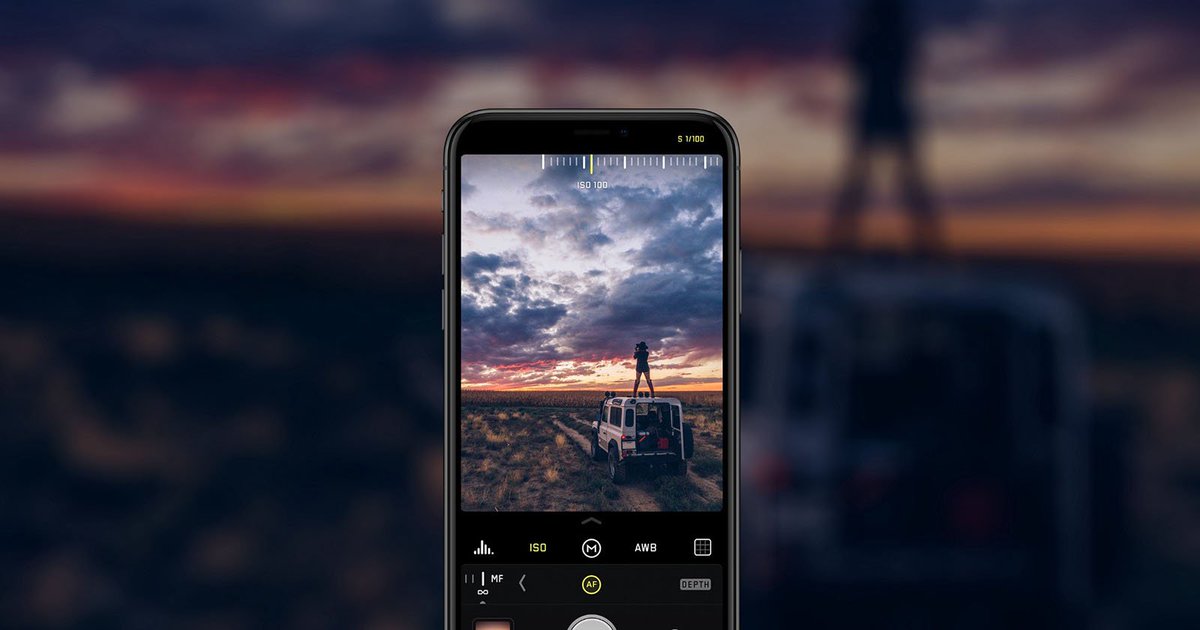
Infrared photography renders a surreal picture. Taking a look at this picture, you are bound to think that it needed several hours of editing. You are wrong. It is possible to conjure the magic of infrared imaging with minimal assistance from computer though you can achieve this effect post-processing. Created in camera during exposure, the special effects depend on capturing light waves outside visible color spectrum and this can be produced with digital camera.
What is Infrared or IR Photography?
IR photography is unusual; it relies on the ability of the camera for recording things that are not visible to eyes. It captures infrared radiation instead of visible light. The IR waves can penetrate different types of cloud or haze cover, so that the pictures of objects that are distant or invisible to normal cameras are possible to take.
Are you thinking infrared photography to be a new technique? No. It has been around for years but only a few photographers used it since it was difficult as well as expensive with films. When the digital cameras came into being, IR photography became cheaper as well as easier.
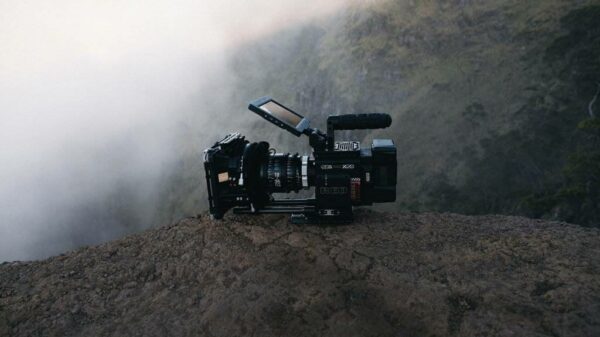
Check Whether Your Camera Captures IR Light
Make sure to check before buying filter since all the cameras do not capture IR.
Here is a quick tip for you.
Find out whether you can capture IR by putting the camera in live view, pointing the remote control at the lens and pressing a few buttons. If you see a red tinted light, your camera can capture IR light.
If the light is dim, it means that your camera can capture IR but the exposure time will skyrocket as your camera is having a strong internal blocking filter.
In case your camera does not come with a live view, you need to set up a long exposure, begin taking the shot as well as point and press buttons on remote towards lens. You can see a red tinted light this way. In case you are unable to see anything from the remote, it means that your camera is not able to capture the IR.
Here are a few ways to click infrared photos best.
Setting up
Setting up is one of the most significant steps when it comes to clicking great infrared pictures. Do not attach the IR filter till you are done with the necessary steps like exposure, focusing and the white balance.
- Make sure to set up the camera on a proper tripod. You can put the camera bag on the hook of the tripod. This will add some extra weight thereby helping with minimizing movement.
- Shoot in raw mode. This will allow to change the white balance post production. Do not shoot in JPG.
- Use a self-timer or remote release. Usage of remote release is optional but this will reduce vibrations since you need not touch the camera while releasing the shutter.
White Balance
Since IR light is captured dominantly in the red channel, the images will be chiefly red regardless of the white balance setting you are using.
To get properly white balanced images, you need to set the camera to white balance. Next, you need to save custom white balance measurement; this can be made possible either by taking pictures in measurement mode or by choosing a photo on the memory card to be used as white balance measurement.
Make sure to refer to the manual of the camera to get specific instructions. You can attend photo workshops in Abu Dhabi as well to learn the techniques better since it is not easy to handle infrared photography.
Focus and Stabilization
Focusing is a significant part of IR photography. It is better to use narrow aperture. This ensures a bigger depth of field minimizing focusing concerns.
If the lens comes with IR focusing marks, it is better to focus manually, making adjustments depending on the focal length.
In case the lens does not come with IR focus marks, it is almost impossible to focus properly without using some trick. One of the best things to do here is set up a small aperture to ensure coming with a bigger depth of field.
You need to follow the above-discussed strategies while clicking infrared pictures. Make sure that you are careful enough so that you do not adjust the settings or nudge the focus ring, mistakenly. As soon as you are ready to take the shot, go ahead. Press the button and wait for the results.
Tristan Taylor, a proficient fashion photographer, is associated with various photography workshops, seminars and symposiums. He keeps himself updated with nitty-gritties of fashion photography industry. Tristan found Gulf Photo Plus extremely helpful to extract information regarding Fine art printing, Giclee print and other aspects related to photography.